MV8-OP1 Clone Installation Instructions
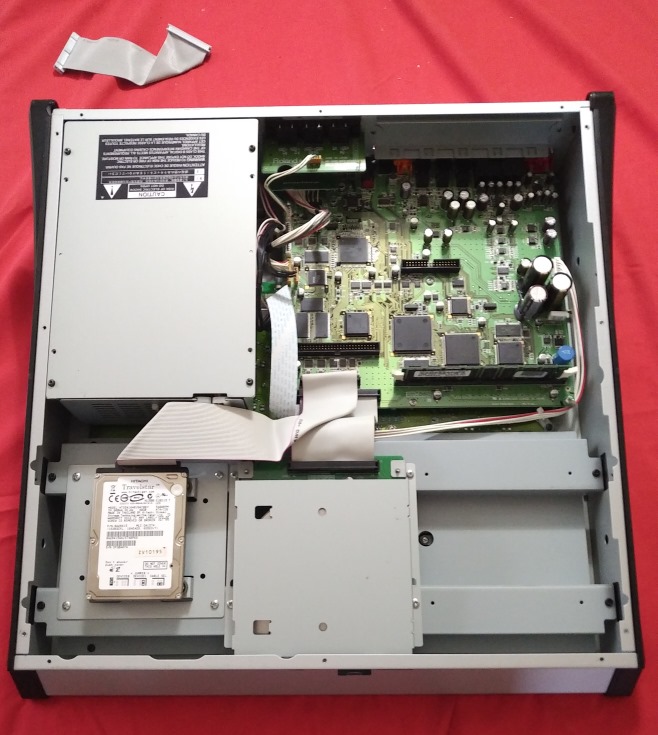
Step 1
Place the unit face down on a table, and remove all screws from the bottom of the unit. Remove the bottom panel so the unit looks as above.
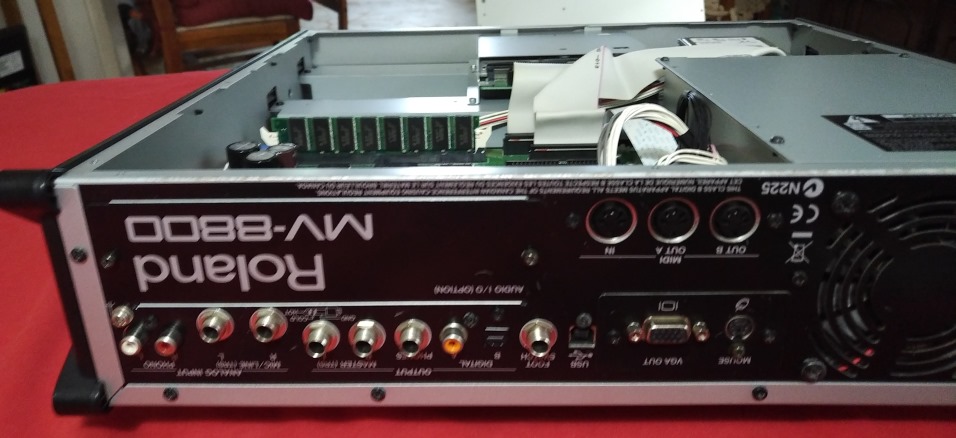
Step 2
Remove the screws from the MV8-OP1 card blank panel, and push the panel out from the inside.
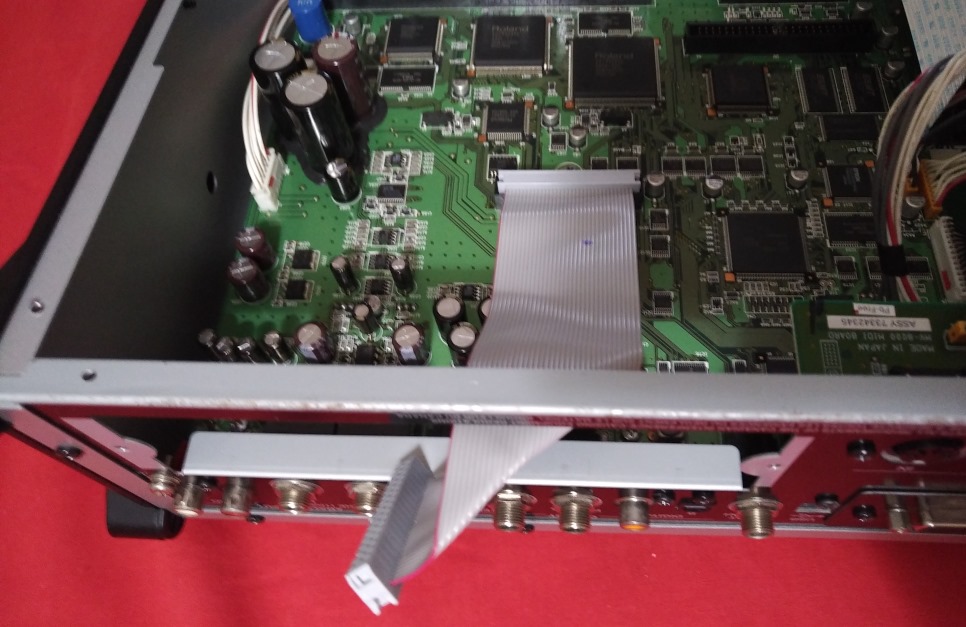
Step 3
Plug the provided ribbon cable into the MV-8800 mainboard, so that one end hangs out of the MV8-OP1 card slot. The ribbon cable is notched, so it should only fit easily in one direction.
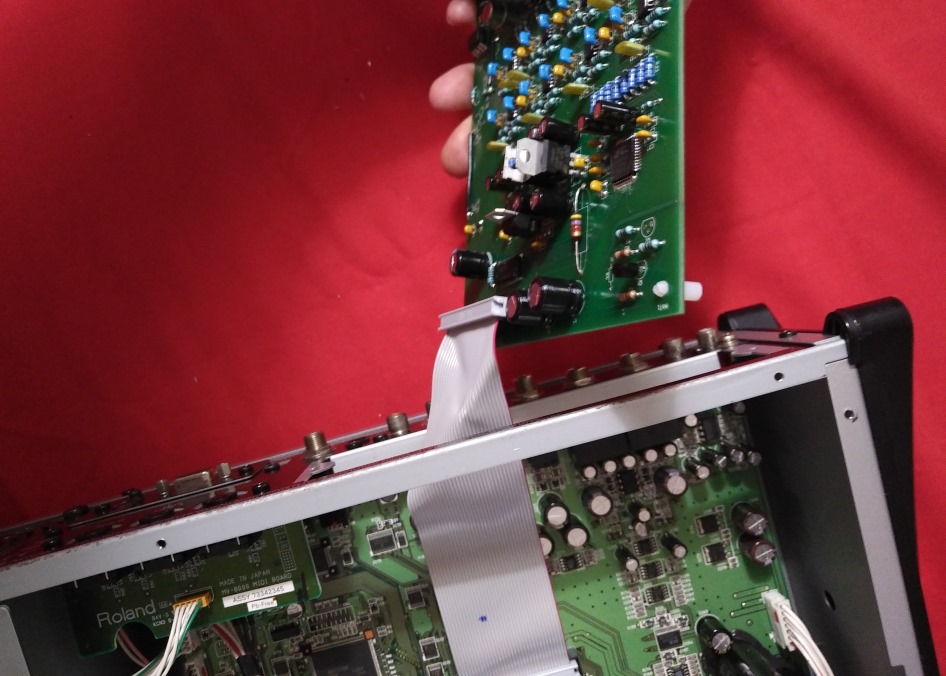
Step 4
Take the MV8-OP1 clone board, and insert the ribbon cable into the board - again, it should only fit in one way. The card then has to be twisted upside down so that the cable folds over itself (that is why the previous cable has a bend). It can be helpful to hold the cable into place as you push the card back all the way into the unit.
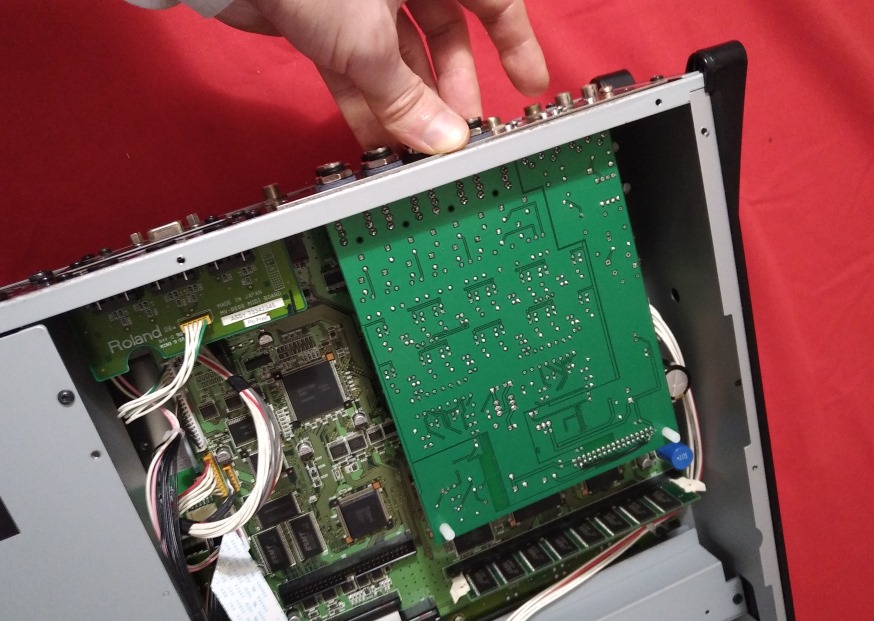
Step 5
After fully inserting the card, it should look like so in the MV-8800. Insert the screws loosely so that it holds into place.
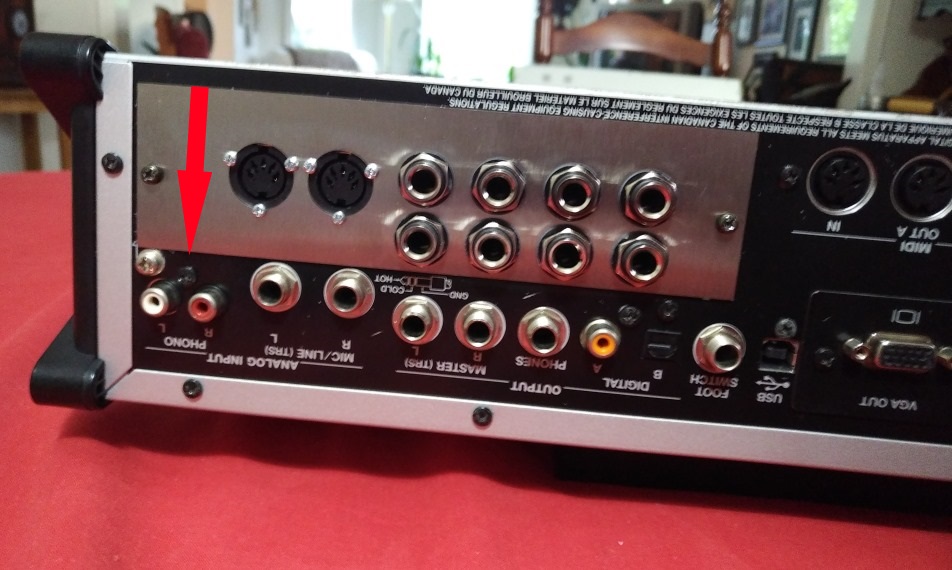
Step 6
Align the panel for best fit (it has a small amount of wiggle room - but will completely cover the cutout on the MV-8800). It should be as low as possible (in the direction of the red arrow) on the unit. Once you're happy with the positioning, tighten the screws.
Step 7
Put the bottom panel back onto the unit, and screw it back in! Then start making music!
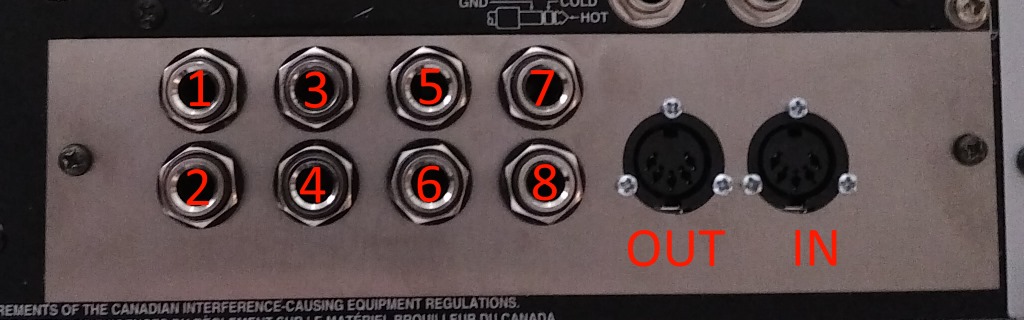
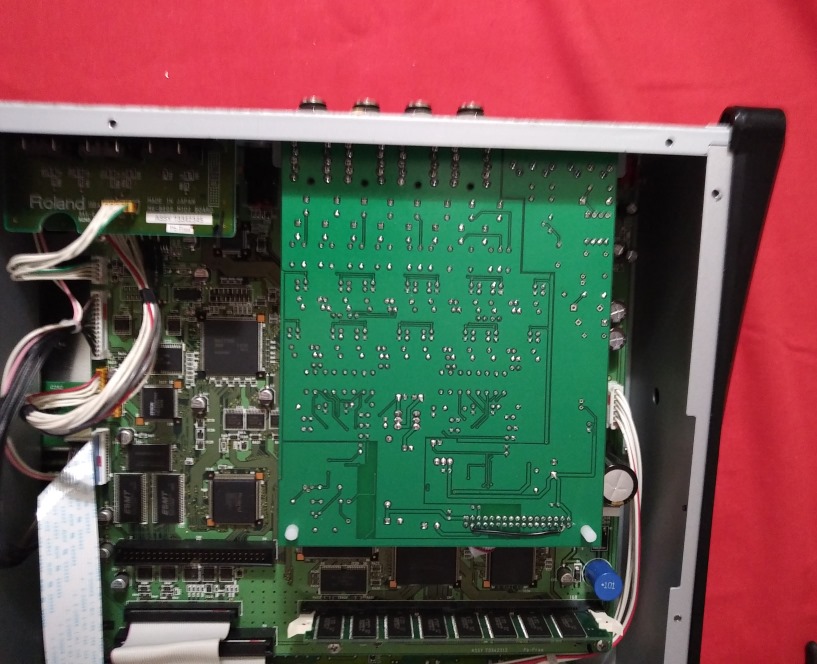
Card outputs